
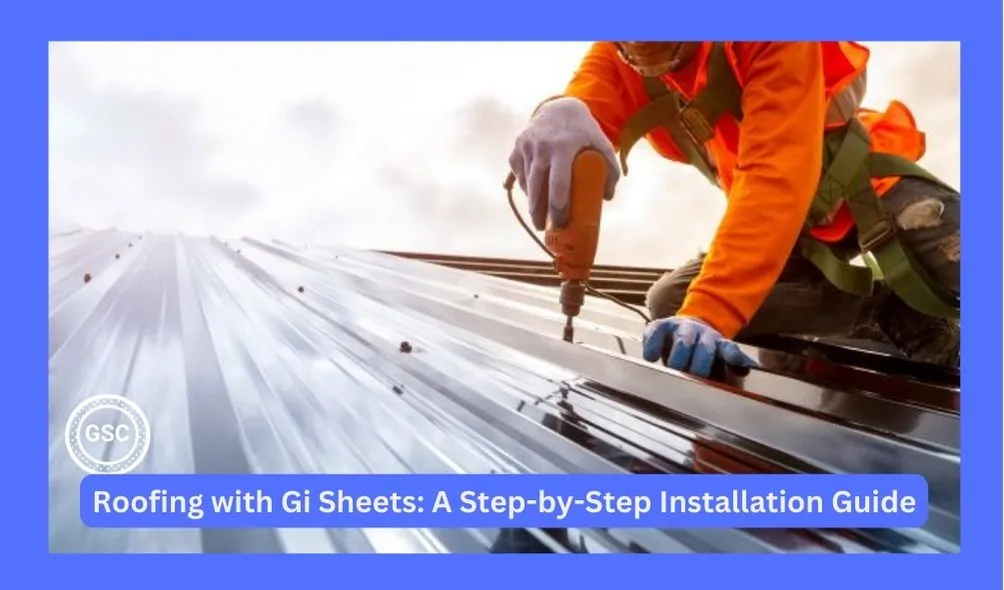
As someone who has spent years in the construction industry, I understand the importance of using the right materials and techniques for any project. When it comes to roofing, one material that has consistently proven its worth is Galvanized Iron (Gi) sheets.
In this comprehensive guide, I’ll walk you through the step-by-step process of installing Gi sheets as roofing material. So, whether you’re a seasoned contractor or a DIY enthusiast, let’s get started on creating a robust and weather-resistant roof.
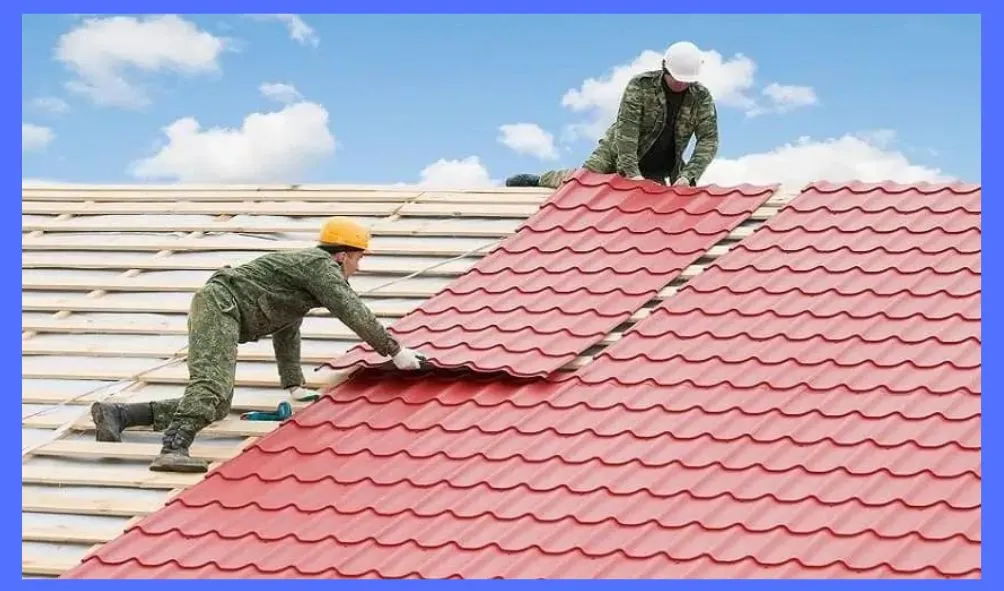
Table of Contents
Understanding Gi Sheets
Before diving into the installation process, it’s essential to have a good grasp of what Gi sheets are and why they are a popular choice for roofing.
Gi sheets are steel sheets that are coated with a layer of zinc. This galvanization process provides several advantages, including:
– Corrosion Resistance: Gi roofing sheets are highly resistant to corrosion, making them ideal for outdoor applications, such as roofing.
– Durability: These sheets are known for their long lifespan, often exceeding 20 years or more.
– Lightweight: Gi sheets are relatively lightweight, reducing the overall structural load.
– Cost-Effective: They are cost-effective both in terms of material and installation costs.
– Aesthetic Appeal: Gi sheets are available in various profiles and colors, allowing for a customized appearance.
Now that we know why Gi sheets are a fantastic choice let’s move on to the installation process.
Tools and Materials You’ll Need
Before you start, it’s crucial to gather all the necessary tools and materials. Here’s a list to get you started:
Tools:
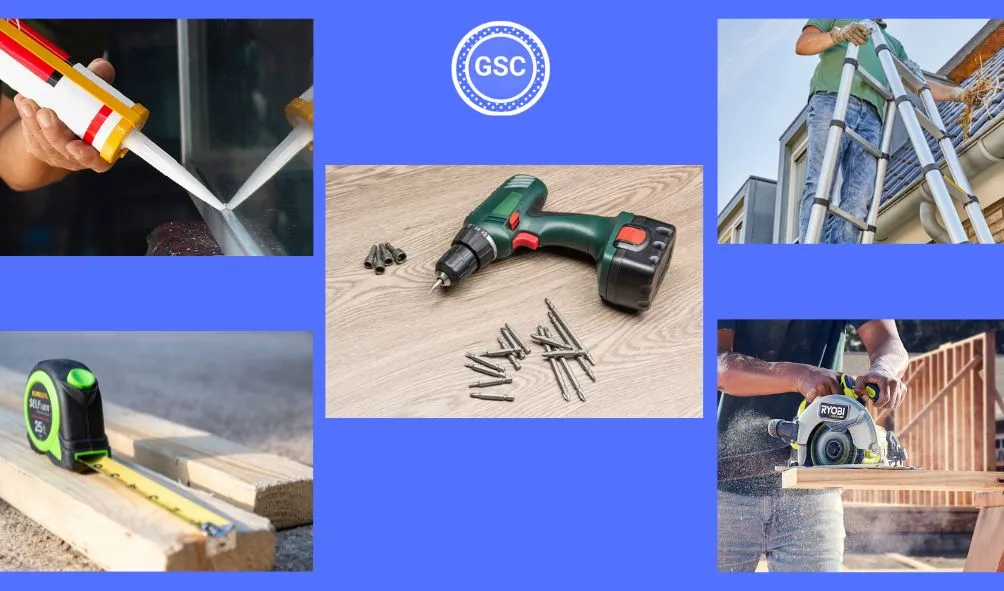
1. Measuring Tape: For accurate measurements.
2. Circular Saw: To cut the Gi sheets to the desired length.
3. Screws and Screw Gun: For securing the sheets in place.
4. Sealant: To prevent water leakage.
5. Ladder: To access the roof safely.
6. Safety Gear: Including gloves, safety goggles, and a harness.
Materials:

1. Gi Sheets: Ensure you have enough Gi sheets to cover your roof area, including some extra for overlaps and cuts.

2. Wooden Purlins: These provide a framework for the Gi sheets to rest on.

3. Zinc Screws with Rubber Washers: To secure the sheets and create a watertight seal.
4. Roof Sealant: To apply at the overlaps and screw points.
5. Ridge Capping: To seal the roof’s peak.
Step 1: Roof Preparation
1. Structural Assessment: Before you begin, ensure your roof’s structure can support Gi sheets. They are lightweight, but the framework should be sturdy.
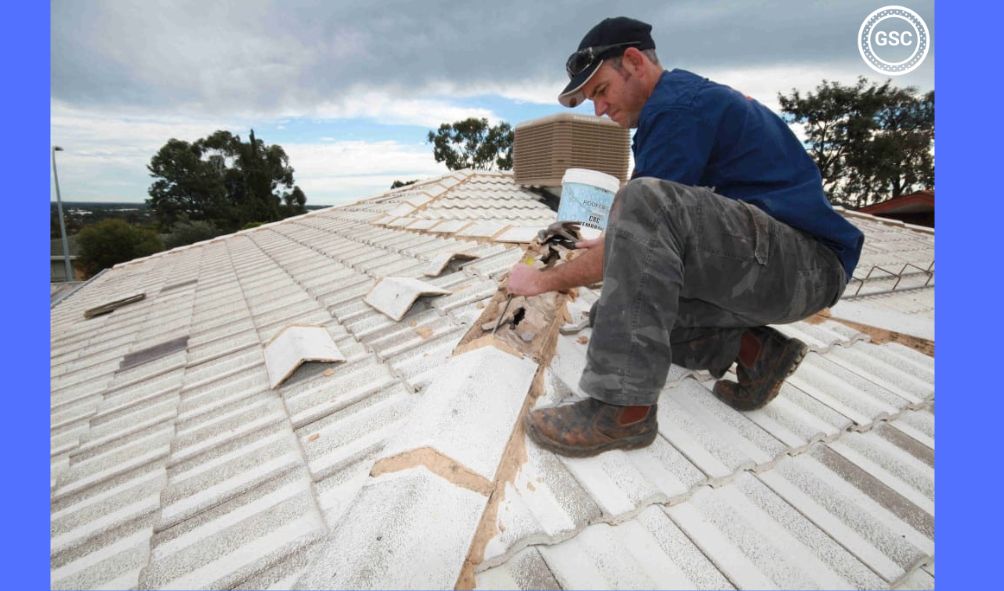
2. Remove Old Roofing: If you’re replacing an existing roof, remove the old material and check for any structural damage.
3. Install Purlins: Affix wooden purlins to the roof’s framework, ensuring they are level and spaced correctly.
Step 2: Gi Sheet Installation
1. Measure and Cut: Measure the length of the roof, adding an overhang if desired. Cut the Gi sheets to the required size using a circular saw.
2. Start at the Bottom: Begin installing the Gi roofing sheets at the bottom of the roof, allowing for some overhang at the eaves.
3. Overlap and Screw: Overlap adjacent sheets by a few inches and use zinc screws with rubber washers to secure them to the purlins. Avoid over-tightening to prevent damage to the sheets.
4. Sealant Application: Apply a roof sealant at the overlaps and screw points to create a watertight seal.
5. Work Upward: Continue installing sheets in rows, working your way upward, and overlapping each row slightly.
6. Ridge Capping: Finish by installing ridge capping at the roof’s peak. This provides additional protection and seals the roof.
Step 3: Safety Considerations

During the installation, prioritize safety. Always use the necessary safety gear, work on a stable surface, and be cautious when working on sloped roofs.
Step 4: Maintenance
Gi roofing sheet roofs require minimal maintenance. Periodically check for loose screws or damaged sealant, and replace any damaged sheets promptly to prevent water leakage.
Conclusion
With the right tools, materials, and a clear understanding of the installation process, roofing with Gi roofing sheets is a manageable DIY project or a task for a professional. These sheets offer a cost-effective and durable roofing solution, making them a top choice in the construction industry.
So, whether you’re protecting your home, a shed, or any other structure, Gi sheets provide a reliable and long-lasting roof that can withstand the elements. Happy roofing!
1 thought on “Roofing with Gi Sheets: A Step-by-Step Installation Guide”